带符号调试-gdb脚本实现自动化加载

collectcrop Lv3

问题由来

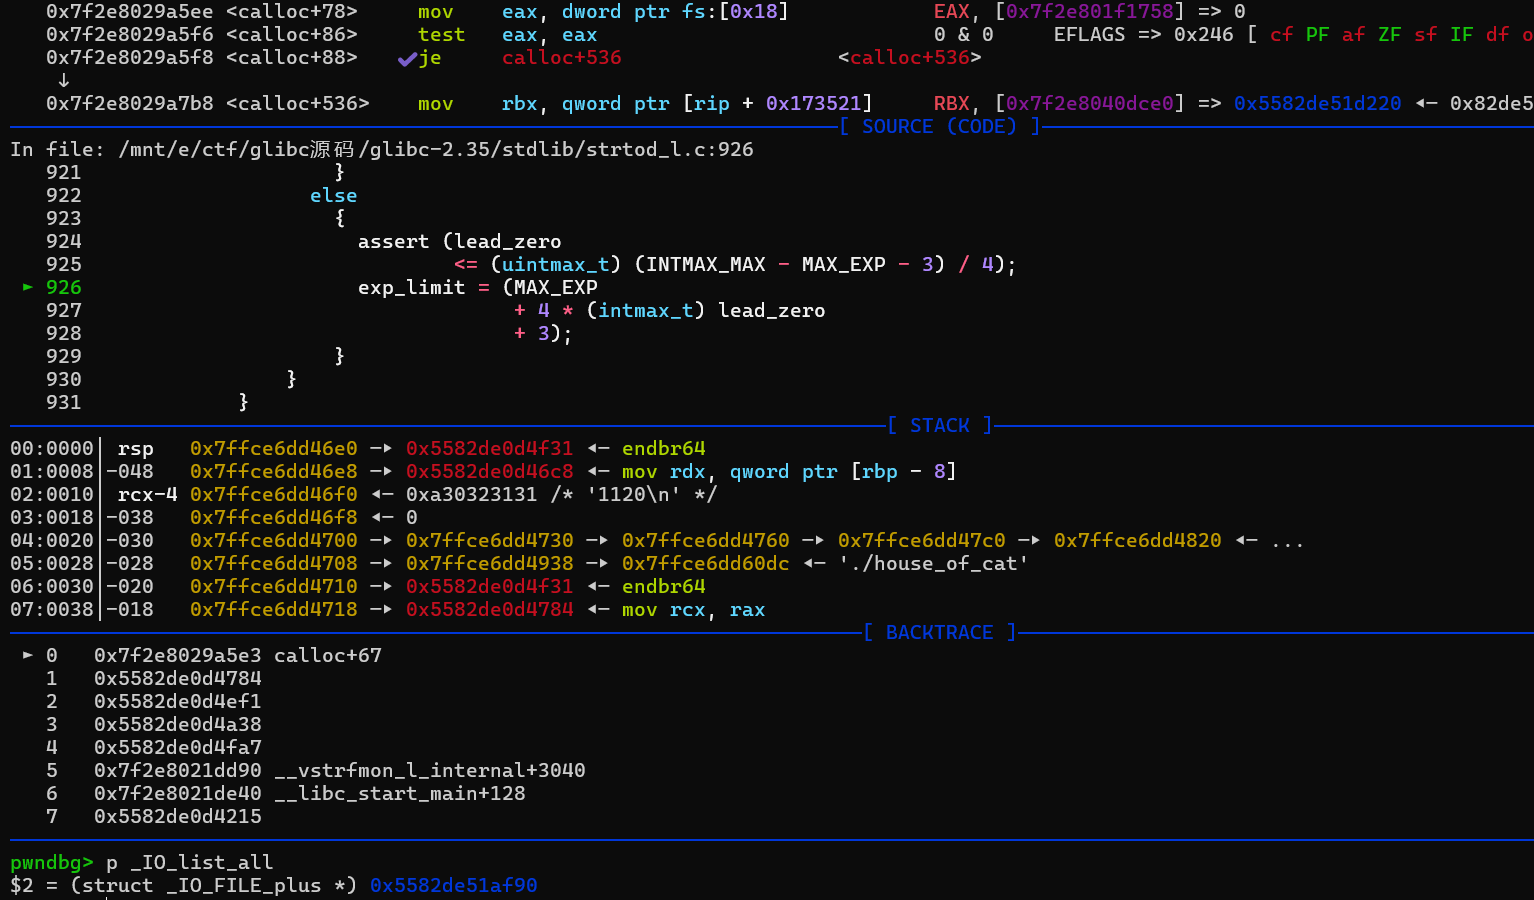
在对于堆的_IO_FILE利用的学习过程中,我们通常需要伪造一个fake_IO_FILE,并且附带源码调试,以方便清除是否进入了目标函数,是否一些条件判断通过。但是有时候却在pwndbg加载时找不到对应的glibc的symbol file文件,这就导致我们无法进行源码级别调试,而且看结构体只能自己一个一个字段带进去看,十分麻烦。所以这里介绍一下如何方便地进行带符号调试。

符号文件

Build ID

Build ID 是 ELF 文件(可执行文件和共享库)中一个独特的标识符,用于标识文件的内容。它是一个不可变的标志,通常用来快速匹配文件与其调试符号或源代码。


主要用途
  1. 唯一标识 ELF 文件
    • 即使文件名或路径改变,Build ID 仍然可以唯一标识文件。
    • 不同编译选项或源代码的修改会导致新的 Build ID
  2. 关联调试符号和源代码
    • 调试符号文件(如 .debug 文件)通常使用 Build ID 来匹配对应的 ELF 文件。
  3. 软件包管理和安全检查
    • 用于确保文件未被篡改,或用于匹配特定版本的依赖项。

生成方式

Build ID 是通过对 ELF 文件的内容(如代码段和数据段)进行哈希计算生成的,具体方式取决于工具链。它通常由 编译器链接器 自动生成,存储在 ELF 文件的 .note.gnu.build-id 段中。

查看 ELF 文件的 Build ID
1
2
1.readelf -n /path/to/file | grep 'Build ID'
2.file /path/to/file
.debug

通常symbol file会在一个.debug/.build-id/xx/的目录下,这里在build-id中会有一堆2位16进制数构成的目录名,实际在.debug文件检索时,会先根据build-id的第一个字节(最高位)来进入对应前缀的文件夹,然后在该目录下找对应的.debug文件。比如我们的build-id89c3cb85f9e55046776471fed05ec441581d1969,那么我们目标的.debug文件就在.debug/.build-id/89/c3cb85f9e55046776471fed05ec441581d1969.debug这个位置。

手动加载符号文件

一般来说,我们用glibc-all-in-one下载到的glibc都是连带着.debug一起下的,但我们pwndbg会找不到目标的符号文件。我们可以直接在gdb中用add-symbol-file /path/to/.debug来读取符号信息。
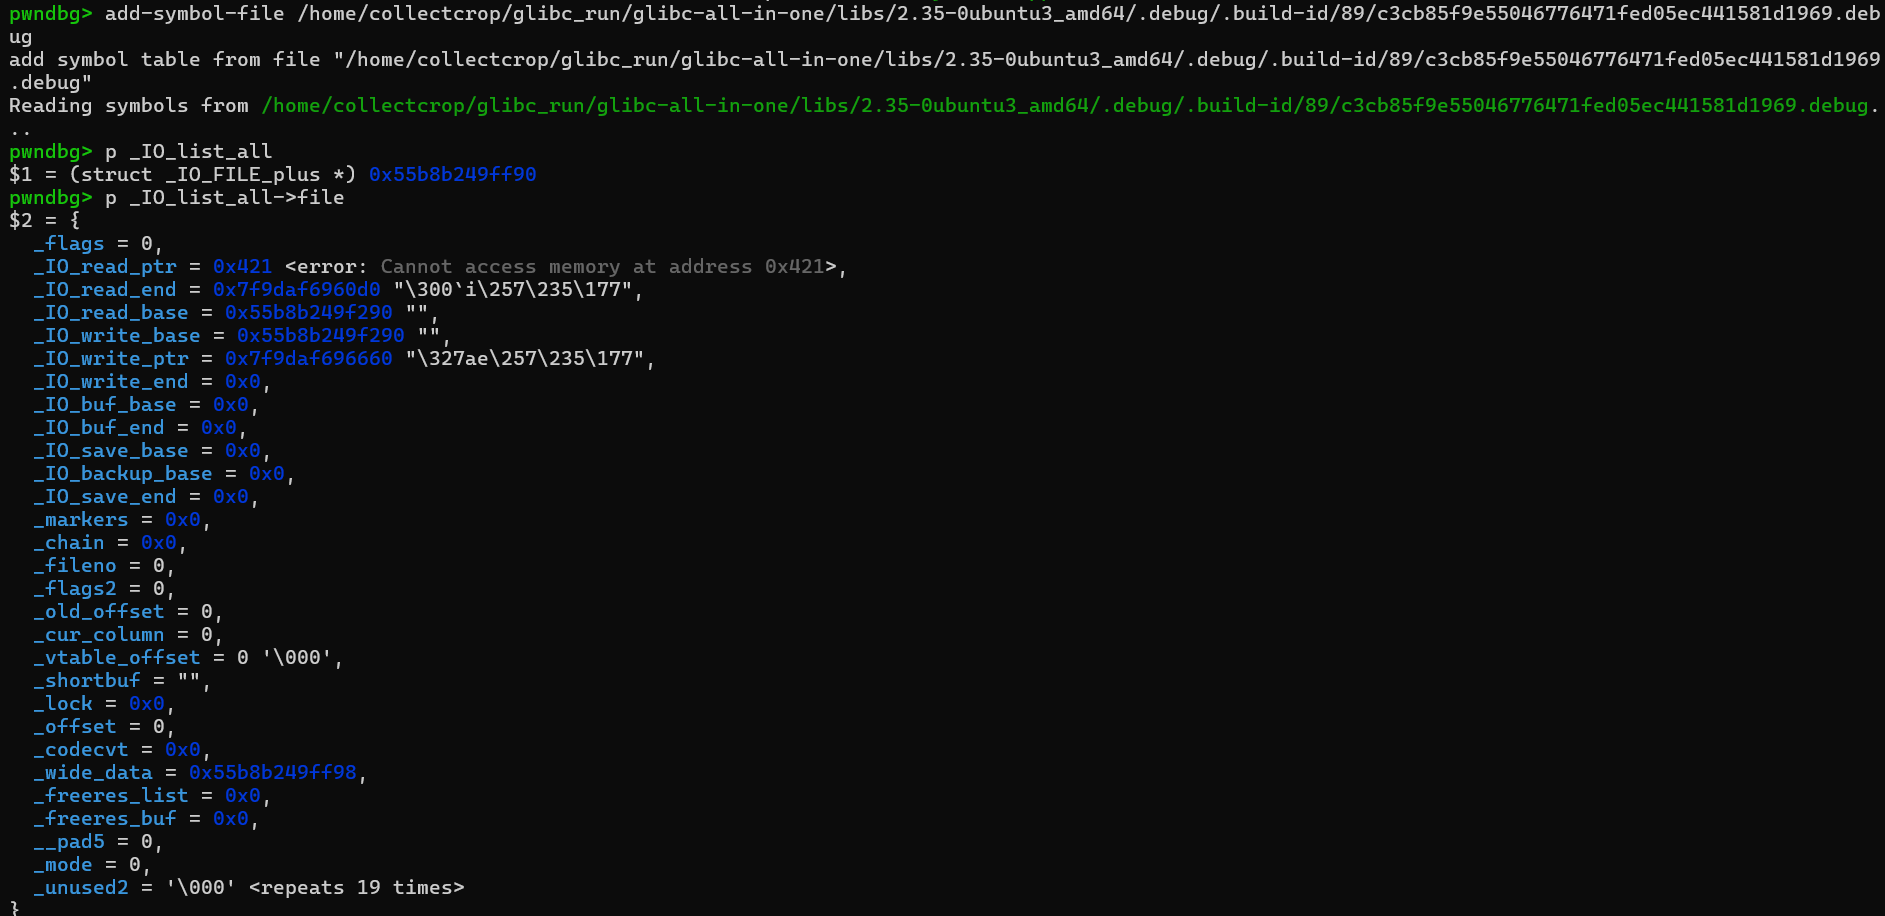
或者也可以在~/.gdbinit中加一个set debug-file-directory /path/to/glibc-all-in-one/libs/2.35-0ubuntu3_amd64/.debug/,然后进入gdb时就会自动检索到.debug文件,附加调试符号信息。

自动化进行附加符号文件

既然我们已经知道了手动附加的原理,这里我们就可以尝试使用脚本进行自动化附加。这里我们选择用gdb中的info proc mappings命令来获取libc的基址以及路径,后续.debug文件路径的判断也是基于此。所以我们想要附加生效,就要链接到glibc-all-in-one中的libc。

在gdbinit中加入如下命令,这里使用了gdb.events.stop.connect来使gdb在停下来的时候调用函数进行加载symbol file,这是因为gdb.attach(p)时,.gdbinit是先加载后再把gdb附加到进程的,如果直接调用会报错。

1
2
3
4
5
6
7
8
9
10
11
12
13
14
15
16
17
18
19
20
21
22
23
24
25
26
27
28
29
30
31
32
33
34
35
36
37
38
39
40
41
42
43
44
45
46
47
48
49
50
51
52
53
54
55
56
57
58
59
60
61
62
63
64
65
66
67
python
import os
import subprocess

DEBUG_FILE_DIR = "/home/collectcrop/glibc_run/glibc-all-in-one/libs"
symbols_loaded = False

def get_build_id(lib_path):
#从给定的库路径提取 build-id
try:
#用外部命令获取build id
res = subprocess.check_output(
f"readelf -n {lib_path} | grep 'Build ID'",
shell=True,
text=True
)
# 提取 Build ID 字符串
build_id = res[res.find(':')+2:]
print(f"[*] Build ID: {build_id}")
return build_id

except gdb.error as e:
print(f"[-] Error extracting build-id for {lib_path}: {e}")
return None

def load_debug_symbols():
global symbols_loaded
mappings = gdb.execute("info proc mappings", to_string=True).splitlines()
for line in mappings:
if "/libc.so" in line:
parts = line.split()
libc_path = parts[-1]
libc_base = parts[0]
build_id = get_build_id(libc_path)
if not build_id:
print("[-] Could not determine Build ID for libc.")
return

DEBUG_FILE_DIR = libc_path.replace("/libc.so.6", "/.debug/.build-id")
# 解析 .debug 文件路径
debug_file_path = os.path.join(
DEBUG_FILE_DIR,
build_id[:2],
build_id[2:].replace("\n","") + ".debug"
)
print(f"[*] debug file: {debug_file_path}")

if os.path.exists(DEBUG_FILE_DIR):
if os.path.exists(debug_file_path):
gdb.execute(f"add-symbol-file {debug_file_path} {libc_base}")
print(f"[+] Loaded symbols for {libc_path} from {debug_file_path}")
else:
print(f"[-] Debug file not found: {debug_file_path}")
else:
print(f"[-] Build ID directory not found: {DEBUG_FILE_DIR}")
symbols_loaded = True
break

# 延迟加载符号,确保附加到进程后运行
def on_stop(event):
if not symbols_loaded:
print("[*] Target process stopped. Attempting to load symbols...")
load_debug_symbols()

gdb.events.stop.connect(on_stop)
end

然后就能愉快地调试了,好耶。

一般换库步骤

1
2
3
4
strings ./libc.so.6  | grep 'GNU'		#看给的libc版本
ldd ./binary #看程序动态链接库的情况
patchelf --replace-needed original_libc target_libc ./binary #换libc,original_libc由上面ldd能看到
patchelf --set-interpreter target_ld ./binary #换ld
  • 标题: 带符号调试-gdb脚本实现自动化加载
  • 作者: collectcrop
  • 创建于 : 2024-11-23 19:31:26
  • 更新于 : 2024-11-23 19:44:52
  • 链接: https://collectcrop.github.io/2024/11/23/带符号调试-gdb脚本实现自动化加载/
  • 版权声明: 本文章采用 CC BY-NC-SA 4.0 进行许可。